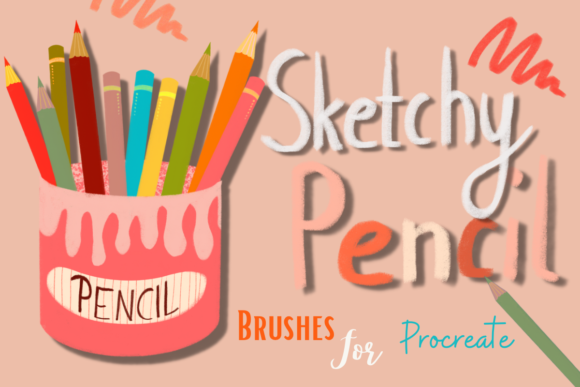
Mastering Textured Drawing with the Procreate Sketching Pencil Set Brushes
Digital art has evolved far beyond flat, sterile lines. Today’s audiences crave authenticity, texture, and the organic feel of traditional media. This is where the Procreate Sketching Pencil Set Brushes become an essential tool in your digital arsenal. Whether you are a seasoned illustrator, a hobbyist sketching on weekends, or an entrepreneur creating brand assets, understanding how to leverage these tools correctly can significantly elevate the quality of your work. However, simply purchasing a brush pack is not enough. Many artists stumble not because of a lack of talent, but due to misunderstandings about how to integrate specialized brushes into their workflow effectively.
Why Texture Matters in Digital Sketching
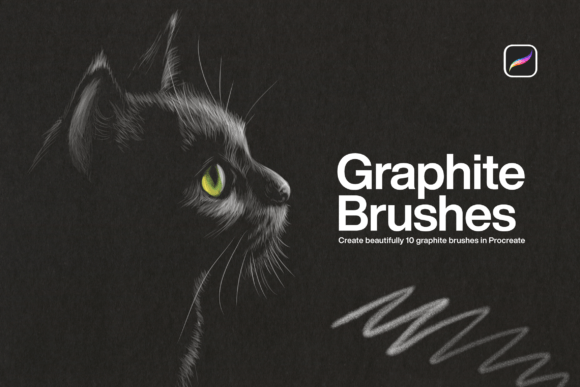
The primary appeal of the Procreate Sketching Pencil Set Brushes lies in their ability to mimic the unpredictable nature of graphite and charcoal on paper. In traditional media, the tooth of the paper catches the pencil lead, creating grain and variation. Digital defaults often smooth this out, resulting in art that feels "plastic" or overly perfect. By using a bundle designed specifically for textured drawing, you introduce a layer of realism that engages viewers on a subconscious level. This special touch is crucial for concept artists who need to convey mood quickly, as well as for creators producing content for social media, where stopping the scroll requires visual depth.
Common Missteps When Adopting New Brush Sets
While the promise of instant texture is appealing, many users encounter friction when they first import and use new brush sets. Recognizing these common pitfalls early can save you hours of frustration and ensure you get the most value from your purchase.
Mistake 1: Ignoring the Installation Process
The most frequent issue beginners face is incorrect installation. Unlike apps downloaded from the App Store, brush sets usually come as compressed files. A common error is trying to open the .zip file directly within Procreate or attempting to import the wrong file type. If you do not unzip the file correctly, Procreate will not recognize the brush library. This leads to confusion, with users assuming the product is defective when, in reality, the file preparation was incomplete.
The Better Approach: Treat the download process with care. After purchasing, navigate to your download section and locate the zip file. You must unzip this file first. On an iPad, this can often be done via the Files app. Once unzipped, tapping the resulting file should automatically trigger Procreate to import the brushes. If this automatic transfer fails, do not panic. As suggested by many experienced users, watching a quick tutorial on YouTube can clarify the specific steps for your iOS version. Taking two minutes to verify the installation method prevents wasted time later.
Mistake 2: Overlooking Brush Settings and Pressure Sensitivity
Another significant oversight is assuming that all nine brushes in the set behave identically. Each brush in the Procreate Sketching Pencil Set Brushes is calibrated for different effects—some for rough under-sketching, others for detailed shading. Users often stick to one or two favorites, ignoring the versatility of the full bundle. Furthermore, failing to adjust pressure sensitivity settings can result in lines that are either too faint or excessively dark, ruining the textured effect.
The Solution: Spend time testing each of the nine included brushes on a blank canvas. Adjust your Apple Pencil pressure settings in Procreate’s preferences to match your personal drawing style. Notice how the texture reacts to light versus heavy strokes. This experimentation phase is critical for developing muscle memory and understanding which brush suits specific stages of your artwork.
Mistake 3: Neglecting Layer Blending Modes
Textured brushes shine brightest when combined with appropriate layer blending modes. A common mistake is keeping all layers on "Normal." This flattens the texture and reduces the depth that the brushes are designed to create. Artists often complain that the brushes look "muddy" or indistinct, not realizing that the issue lies in their layer management rather than the brush quality itself.
Practical Advice: Experiment with blending modes like "Multiply" for shadows and "Overlay" for adding grain to existing colors. This technique allows the textured strokes to interact with underlying colors naturally, mimicking how graphite interacts with toned paper. This small adjustment can transform a flat sketch into a dynamic piece of art.
Evaluating Usability and Efficiency
When considering any digital tool, efficiency is key. The Procreate Sketching Pencil Set Brushes are marketed as easy to use, but "easy" is subjective. For professionals, ease of use means minimal setup time and consistent results. For beginners, it means intuitive controls and forgiving stroke behavior. Before committing to a workflow change, ask yourself if the brush set integrates smoothly with your existing habits. Do you find yourself constantly adjusting opacity? Does the texture distract from the form, or enhance it?
If you find that the brushes require excessive tweaking to look good, they may not be the right fit for your current skill level or project needs. However, for most users, the pre-configured settings in this nine-brush bundle offer a balanced starting point that requires only minor adjustments. This balance ensures that you spend more time creating and less time configuring.
Who Benefits Most from This Bundle?
This set is particularly valuable for:
- Illustrators and Concept Artists: Who need rapid, expressive sketches that convey material and mood.
- Educators and Content Creators: Who want their digital diagrams and thumbnails to stand out with a hand-drawn aesthetic.
- Hobbyists: Looking to bridge the gap between traditional sketching and digital convenience.
Entrepreneurs and small business owners can also leverage these brushes for unique marketing materials. Hand-sketched elements often perceive as more authentic and trustworthy compared to stock vector graphics, helping brands connect emotionally with their audience.
Final Checks Before You Start Creating
Before diving into your next project, ensure you have completed the following checklist:
- Verify Installation: Confirm the zip file is fully unzipped and the brushes appear in your Procreate brush library.
- Test Pressure: Draw varying line weights to ensure your Apple Pencil responds accurately to the brush dynamics.
- Explore All Nine Brushes: Identify which brushes work best for outlines, shading, and texturing.
- Save Custom Presets: If you tweak a brush to perfection, duplicate it and save it as a custom preset to avoid losing your settings.
By avoiding these common mistakes and approaching the Procreate Sketching Pencil Set Brushes with a strategic mindset, you unlock their full potential. The goal is not just to add texture, but to enhance communication through art. Whether you are refining a professional portfolio or exploring a new creative hobby, these tools offer a reliable pathway to more expressive, textured, and engaging digital drawings. Remember, the tool is only as good as the understanding behind it. Take the time to learn, experiment, and adjust, and your art will reflect that effort.